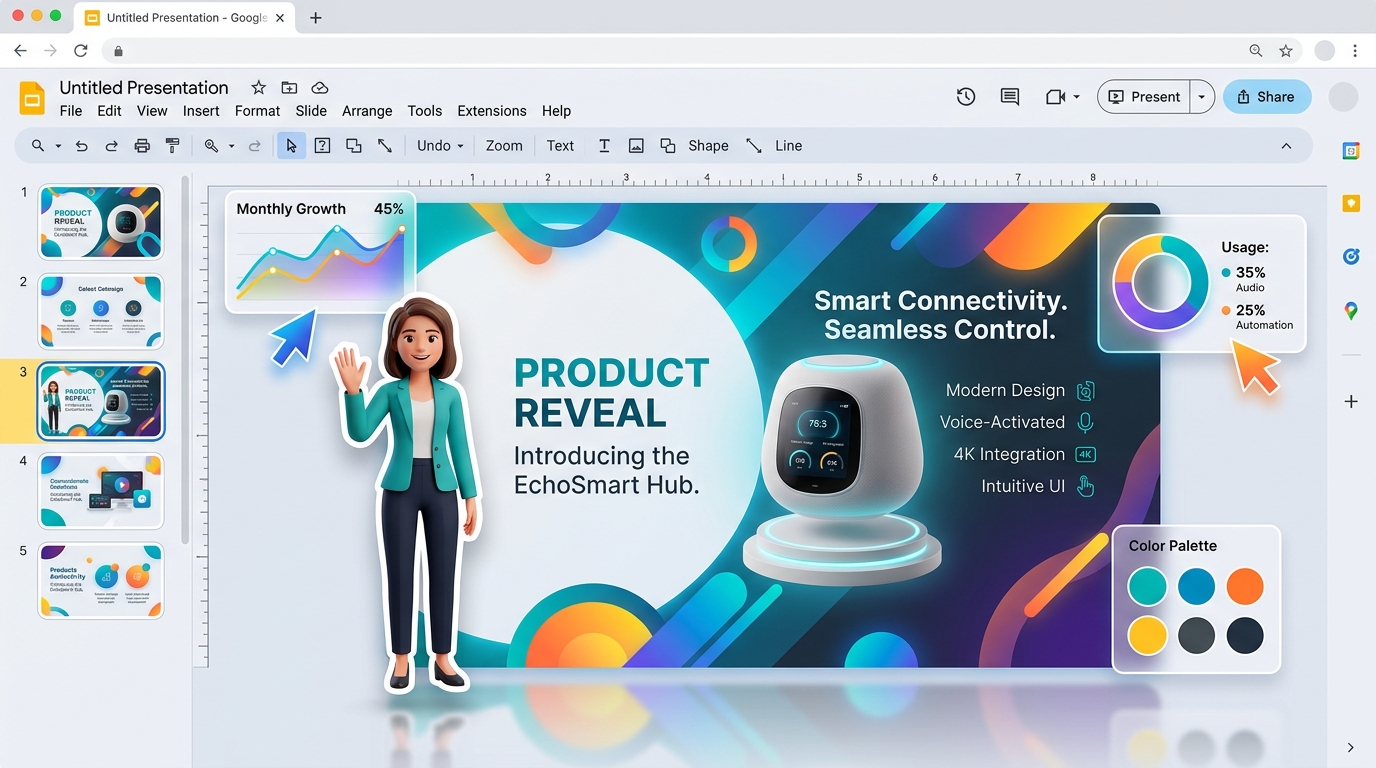
Nothing ruins a sleek, modern presentation faster than an awkward white rectangle box around an image.
Whether you are designing an investor pitch deck, a company sales report, a school project, or an interactive webinar, placing photos seamlessly onto colorful slide backgrounds is essential for professional graphic design. But when you insert a product photo, corporate headshot, or company logo with a solid background, it immediately clashes with your carefully chosen slide theme.
You might be asking: How do I remove the background in Google Slides?
In this comprehensive guide, we will break down the exact steps to get rid of unwanted image backgrounds in Google Slides. We will cover the fastest automated AI solution, as well as the native formatting tools built directly into Google Slides.
Does Google Slides Have a Built-In Background Remover?
Unlike desktop software like Microsoft PowerPoint (which has a basic “Remove Background” tool) or paid platforms like Canva Pro, Google Slides does not have a native 1-click AI background removal button.
However, you have three reliable methods to achieve clean, professional slides:
- Method 1 (Recommended): Use a free client-side AI tool (Remove BG From Image) to get a crisp transparent PNG in 2 seconds.
- Method 2: Use the Google Slides Format Options Transparency slider (a quick workaround for subtle overlays).
- Method 3: Use Google Slides Mask Image (Crop to Shape) to cleanly clip photos into circles, rounded rectangles, or geometric shapes.
Let’s explore each method step by step.
Method 1: The Best & Fastest Way (Free AI Background Removal)
The most effective way to remove an image background for Google Slides is to process it through an online AI remover before dropping it onto your canvas. This ensures you keep full original HD resolution without ugly edge haloes.
Here is the exact 3-step workflow:
Step 1: Upload Your Image to Remove BG From Image
Open removebgfromimage.com in a new browser tab.
- Drag and drop your image (JPG, PNG, or WebP) directly onto the upload box.
- Or press Ctrl + V (Windows) / Cmd + V (Mac) if you copied an image from the web or your clipboard.
Step 2: Automatic Cutout in 2 Seconds
Our neural network immediately identifies the foreground subject—whether it’s a person, product, sneaker, car, or pet—and erases the background cleanly, preserving delicate edges and hair strands.
Step 3: Copy or Drag Directly into Google Slides
You have two quick options:
- Instant Paste: Right-click the cutout preview and select “Copy Image”, then switch to your Google Slides tab and press Ctrl + V / Cmd + V.
- HD Download: Click the green “Download HD” button to save the 32-bit transparent PNG, then drag the file straight onto your slide.
Your subject now floats seamlessly on top of any slide theme, gradient, or color backdrop!
Method 2: Adjust Image Transparency in Google Slides
If you don’t need a clean subject cutout and simply want to soften a busy image so background text remains legible, Google Slides has built-in image adjustment sliders.
⚠️ Limitation: This method changes the opacity of the entire image (both the subject and the background). It does not separate the person or product from the background.
How to use it:
- Select the image on your slide.
- Click Format options in the top toolbar (or right-click the image and choose Format options).
- In the right-hand sidebar that appears, expand the Adjustments panel.
- Drag the Transparency slider to the right (around 40% to 60%).
- Adjust Brightness and Contrast slightly if needed.
This technique is best for large background watermarks, subtle blueprint patterns, or atmospheric mood photos placed behind slide headers.
Method 3: Use “Mask Image” to Crop into Shapes
If your photo has a messy background but you are creating a team slide or speaker roster, Google Slides has a built-in masking tool that clips images into clean geometrical shapes like circles or rounded rectangles.
How to mask an image in Google Slides:
- Click the image to highlight it.
- Look at the top toolbar next to the standard Crop icon—click the small dropdown arrow (▾) right beside it.
- Hover over Shapes and choose the Oval (or Rounded Rectangle).
- Google Slides will instantly crop the photo into an ellipse.
- Double-click the image to adjust the crop handles and center the person’s face inside a perfect circular avatar.
While this doesn’t erase the background behind the subject’s ears or shoulders, a neat circular portrait looks far more intentional and polished than an uncropped rectangle.
Comparison of Methods
| Feature | Method 1: RemoveBG AI | Method 2: Transparency Slider | Method 3: Shape Masking |
|---|---|---|---|
| Separates Subject from Background | Yes (100% Isolated) | No (Entire photo fades) | No (Crops into geometry) |
| Transparent PNG Output | Yes | No | No |
| Hair & Fine Detail Preservation | Yes | N/A | No |
| Time Needed | 2 – 3 seconds | 10 seconds | 15 seconds |
| Cost | 100% Free | Free | Free |
| Best Used For | Products, people, icons, logos | Background watermarks | Team headshots & avatar badges |
Bonus: How to Remove or Change the Entire Slide Background
If your goal is to change or reset the background of the slide canvas itself (rather than an individual photo):
- Click an empty space on the slide so no element is selected.
- Click the Background button in the top toolbar.
- In the dialog that opens:
- To make it solid white or transparent: Click Color and choose your preferred shade (or custom hex code).
- To remove a custom background image: Click Reset to return to the master slide template default.
- Click Done (or click Add to theme if you want to apply the change across your entire deck).
Pro Presentation Design Tips for Transparent Cutouts
Once you have your transparent PNG inserted into Google Slides, try these design tricks to give your pitch deck an executive polish:
1. Add a Subtle Drop Shadow
- Click your cutout image.
- Open Format options > Drop shadow.
- Set the Angle to 45°, Transparency to ~50%, Blur radius to 10–15px, and Distance to 5px.
- This adds a realistic depth effect that makes product cutouts look tangible and 3-dimensional.
2. Layer Cutouts with Typography
Place bold headline text behind your subject by selecting the text box, clicking Arrange > Order > Send Backward (Ctrl + [). This magazine-style overlap design immediately elevates presentation visual appeal.
3. Maintain High Resolution
Always export cutouts at original camera resolution. Downscaled 500-pixel thumbnails look fuzzy when projected on conference room TV monitors or Zoom screen shares. With Remove BG From Image, your downloads remain in full HD.
Frequently Asked Questions (FAQ)
Can I remove white background from a logo in Google Slides?
Google Slides does not have a “Color to Alpha” or magic wand tool. The easiest way is to drop your logo into removebgfromimage.com—the AI will erase the white background in one click, giving you a transparent PNG logo ready for any slide color.
Do I need to install any Google Workspace add-ons?
No. Many Google Workspace Marketplace add-ons require account permissions, collect your slide data, or charge token subscriptions after 3 free tries. Using an in-browser tool that runs on-device requires zero software installation and keeps your corporate presentation private.
Can I do this on Google Slides mobile app?
Yes! You can remove the background on your phone’s browser using removebgfromimage.com, save the transparent PNG to your camera roll, and tap “+” > “Image” in the Google Slides app to insert it.
Ready to Elevate Your Google Slides?
Say goodbye to cluttered backgrounds and mismatched bounding boxes. Transform your presentation images in seconds:
Topics covered in this guide
Written by Remove BG Team
Presentation Design & AI Specialist
The Remove BG engineering and design team is committed to making high-resolution image editing accessible, private, and 100% free for creators worldwide without hidden paywalls.