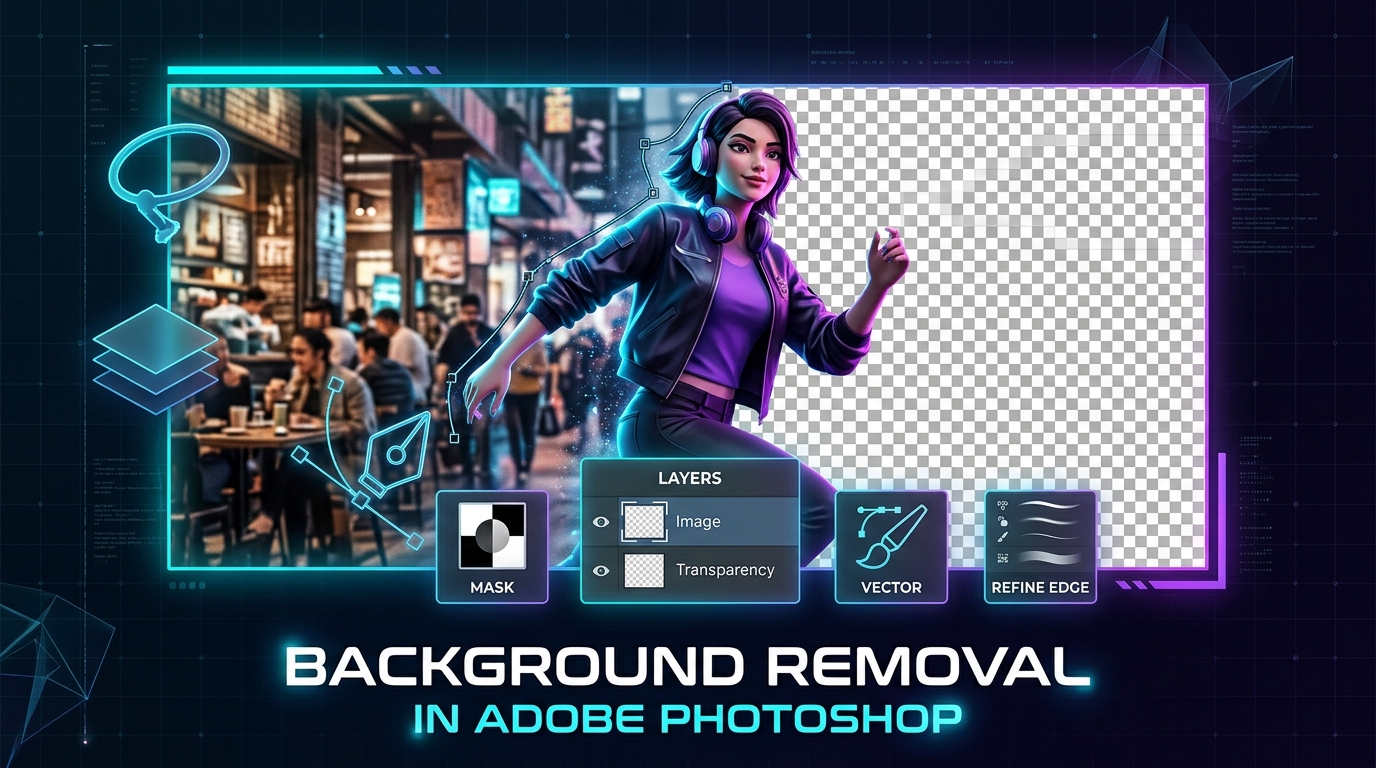
Whether you are preparing commercial product photos for Amazon, designing high-impact YouTube thumbnails, creating digital composite art, or touching up client portraits, removing backgrounds in Adobe Photoshop is one of the most fundamental skills every creator, designer, and photographer must master.
Adobe Photoshop offers a spectrum of background removal workflows—ranging from effortless 1-click automated AI buttons to pixel-precise manual vector paths. Choosing the right method depends entirely on your image: fine flyaway hair requires a completely different approach than a crisp wristwatch or a sports car.
In this comprehensive guide, we will walk you step-by-step through the 5 best ways to remove backgrounds in Photoshop, reveal pro retouching tricks to eliminate edge halos, and share what to do if you need an instant result without paying for an Adobe Creative Cloud subscription.
Which Photoshop Method Should You Use?
Before opening your canvas, consult this quick decision table:
| Image Type | Recommended Method | Skill Level | Time Needed |
|---|---|---|---|
| People & Portraits with Hair/Fur | Method 2: Select Subject + Refine Edge | Intermediate | 1 – 3 minutes |
| Simple everyday photos with good contrast | Method 1: Quick Action “Remove Background” | Beginner | 5 seconds |
| Multiple subjects in a single scene | Method 3: Object Selection Tool | Beginner | 30 seconds |
| Hard-edged products (bottles, tech, cars) | Method 4: The Vector Pen Tool | Advanced | 3 – 8 minutes |
| Solid studio backgrounds (Green/White screen) | Method 5: Color Range Selection | Intermediate | 1 minute |
| No Photoshop installed / Instant on mobile | Remove BG From Image | Zero Effort | 2 seconds |
Method 1: The 1-Click “Remove Background” Quick Action (Fastest)
Introduced in Photoshop 2020 and continuously refined by Adobe Sensei AI, the Quick Actions panel allows you to isolate a foreground subject with a single click.
Step 1: Unlock Your Layer
- Open your image in Photoshop (Ctrl + O on Windows or Cmd + O on Mac).
- Look at the Layers panel on the right. If your layer is titled “Background” with a lock icon, click the Padlock icon once to turn it into a standard editable layer (“Layer 0”).
Step 2: Open Properties
- If the Properties panel is not visible on your screen, navigate to the top menu bar and click Window > Properties.
Step 3: Click “Remove Background”
- Scroll down to the Quick Actions section at the bottom of the Properties panel.
- Click the Remove Background button.
- Photoshop’s AI will analyze the image, detect the primary subject, and automatically apply a Layer Mask that hides the background while keeping your original pixels intact.
[!TIP] Always use Layer Masks instead of deleting pixels: Notice the black-and-white thumbnail that appears beside your image in the Layers panel. That is a non-destructive layer mask. Black conceals pixels; white reveals them. You can always paint with a white brush (B) to bring back any accidentally erased details!
Method 2: “Select Subject” & “Select and Mask” (Best for Hair & Fur)
When your subject has flyaway hair, fluffy pet fur, or semi-transparent fabrics, automated one-click buttons often leave behind muddy edges. The Select and Mask dedicated workspace gives you surgical control.
Step 1: Trigger “Select Subject”
- Select any selection tool from the left toolbar, such as the Quick Selection Tool or Object Selection Tool (W).
- Look at the top options bar and click Select Subject. Photoshop will generate marching ants around the detected subject.
Step 2: Enter the “Select and Mask” Workspace
- In the same top options bar, click the Select and Mask… button (or press Ctrl + Alt + R / Cmd + Option + R).
- On the right panel, change the View Mode to On Black (B) or Overlay (V) so you can easily spot edge imperfections.
Step 3: Brush Away Complex Hair with the Refine Edge Brush
- On the left side of the workspace, select the Refine Edge Brush Tool (the second icon from the top, shortcut R).
- Brush gently along the fuzzy edges of the hair or fur. Photoshop recalculates transparency pixel by pixel, eliminating the background while maintaining delicate individual strands.
Step 4: Output Clean Selection
- In the right panel, expand Output Settings.
- Check the box for Decontaminate Colors to clean up any colored backdrop reflected onto your subject’s edges (set slider to ~50–70%).
- Set Output To as New Layer with Layer Mask, and click OK.
Method 3: Object Selection Tool (Best for Busy Multi-Subject Scenes)
If your photo contains multiple people, food dishes, or street objects and you only want to cut out one specific item, the Object Selection Tool is your best friend.
- Press W or choose the Object Selection Tool from the toolbar.
- Ensure Object Finder is enabled in the top options bar. As you hover your cursor over the image, Photoshop will highlight detected objects in blue.
- Simply click the object you want to extract, or click-and-drag a rectangular bounding box around it.
- Once the marching ants outline your target, click the Add Layer Mask icon at the bottom of the Layers panel (a rectangle with a circle inside).
Method 4: The Vector Pen Tool (Best for Razor-Sharp Commercial Products)
For commercial catalog photography—such as jewelry, perfume bottles, electronics, sneakers, and furniture—AI tools can leave micro-wobbles on straight edges. Professional retouchers always rely on the Pen Tool for razor-sharp, vector-perfect silhouettes.
Step 1: Configure the Pen Tool
- Press P to activate the Pen Tool.
- In the top options bar, verify that the dropdown mode is set to Path (not Shape).
Step 2: Draw Your Path
- Zoom in close (Z or Ctrl/Cmd + Space) to roughly 200%–300%.
- Click along the edge of your product to drop anchor points.
- Click and drag to create smooth Bezier curves matching curved contours.
- Hold Alt (Windows) or Option (Mac) to break directional handles for sharp corners.
- Close the path by clicking back on your initial starting anchor point.
Step 3: Convert Path to a Flawless Mask
- Right-click inside your path and select Make Selection… (or press Ctrl + Enter / Cmd + Return).
- Set the Feather Radius to 0.5 pixels (this prevents harsh, aliased jagged edges while keeping lines ultra-crisp).
- With your layer selected, click the Add Layer Mask button at the base of the Layers panel.
Method 5: Color Range (Best for Studio Backdrop & Green Screen)
If your image was shot in a studio against a solid white, gray, or chroma-key green backdrop, Color Range provides an instant, uniform selection.
- Navigate to Select > Color Range… in the top menu.
- Set the Select dropdown to Sampled Colors.
- Use the Eyedropper tool to click on the background color. Hold Shift and click to sample color variations or shadows.
- Adjust the Fuzziness slider until the silhouette of your subject turns solid black and the background turns pure white in the preview window.
- Click OK, then press Ctrl + Shift + I (Cmd + Shift + I) to invert the selection to your subject.
- Click Add Layer Mask in the Layers panel.
How to Export Your Transparent Image
Once your background is removed, you must export it in a format that preserves the alpha channel (transparency).
- Go to File > Export > Quick Export as PNG (or File > Export > Export As…).
- Verify the format is set to PNG with the Transparency checkbox enabled.
- Choose your destination folder and click Save.
[!WARNING] Never save transparent cutouts as standard JPEG (.jpg) files! JPEGs do not support transparency and will automatically fill your background with solid white.
Pro Retouching Secrets: Fixing Edge Halos & Color Spill
Even the best selections can suffer from “fringe”—a faint white, dark, or colored line around the subject. Fix it with these professional techniques:
- Defringe Tool: Go to Layer > Matting > Defringe… and enter
1or2pixels to strip color contamination along the border. - Remove Color Cast: Create a new blank layer above your subject, set it to Clipping Mask (Alt/Option + Click between layers), change its blend mode to Color, and brush over the hair edges with a sampled hair color.
- Contract / Shift Edge: Double-click your Layer Mask to reopen Select and Mask, then dial the Shift Edge slider down by
-10%to pull the mask boundary slightly inwards.
Don’t Have Photoshop? Try the Free 100% Private Alternative
While Photoshop is the industry standard for professional compositing, it comes with notable downsides:
- It requires a costly ongoing Creative Cloud subscription ($22+/month).
- It consumes gigabytes of storage space and demands high-end GPU/RAM hardware.
- It is not accessible when you are on a smartphone, tablet, or public Chromebook.
If you just need a fast, studio-quality transparent PNG without opening heavy software, use Remove BG From Image:
- ⚡ Instant AI Cutout: Upload an image and get a transparent cutout in under 2 seconds.
- 🔒 100% Client-Side Privacy: Unlike other online converters, your photos are never sent to remote cloud servers. All AI processing happens right inside your browser.
- 💎 Full Original Resolution: Download full HD transparent PNGs completely free with no watermarks and no account registration.
Frequently Asked Questions (FAQ)
Why is “Remove Background” greyed out in my Photoshop Properties panel?
This happens when your layer is locked as a flat background layer, or if you have multiple layers / a Smart Object selected. Click the small padlock icon on the layer to convert it to an editable layer (Layer 0), and ensure you have that layer actively highlighted.
How do I invert a layer mask in Photoshop?
Click on the black-and-white layer mask thumbnail in the Layers panel and press Ctrl + I (Windows) or Cmd + I (Mac). This instantly flips the visible and hidden regions.
Which file formats support transparent backgrounds?
PNG, WebP, TIFF, and PSD all support alpha channel transparency. Standard JPEG/JPG does not support transparency.
Can I remove background in Photoshop on iPad or Photoshop Web?
Yes! Both Photoshop on iPad and Photoshop for Web (available with Adobe subscriptions) include the AI-powered Select Subject and Remove Background quick actions.
Topics covered in this guide
Written by Remove BG Team
Photo Editing & AI Specialist
The Remove BG engineering and design team is committed to making high-resolution image editing accessible, private, and 100% free for creators worldwide without hidden paywalls.