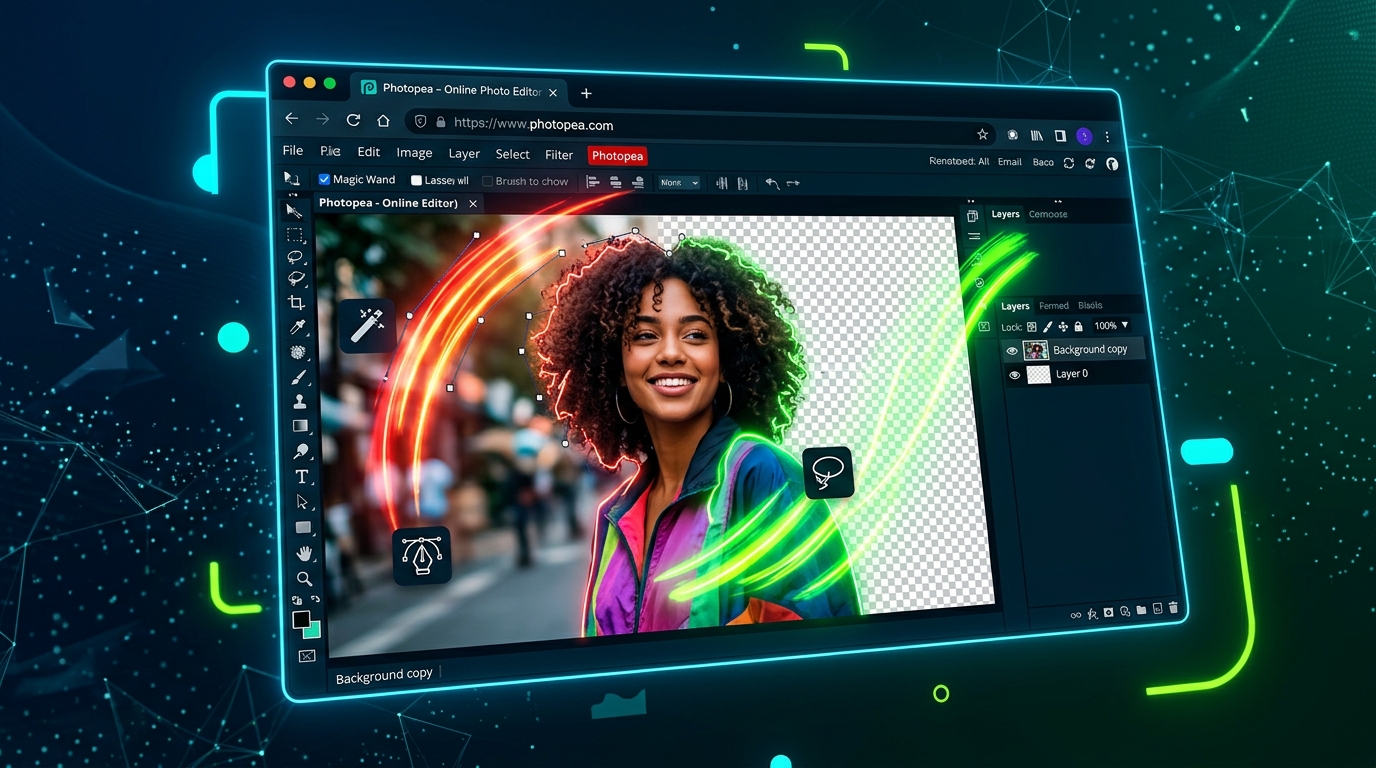
If you need the full power of Adobe Photoshop without paying a monthly $22+ Creative Cloud subscription or installing gigabytes of software, Photopea is widely celebrated as the best free web-based photo editor in the world.
Running entirely inside your web browser (Chrome, Edge, Safari, Firefox) on Mac, Windows, Linux, and Chromebooks, Photopea handles PSD files and delivers sophisticated selection engines. But if you have never used it before, isolating a subject can feel tricky.
You might be asking: How do I remove the background in Photopea cleanly?
In this practical, step-by-step guide, we will explore the 4 best methods to remove image backgrounds in Photopea—including the dedicated Magic Cut tool, AI Select Subject, the Pen Tool, and an even faster 1-click alternative for when you need a transparent PNG in seconds.
Quick Comparison: Which Photopea Method Should You Use?
| Method | Best For | Difficulty | Average Time |
|---|---|---|---|
| Method 1: Magic Cut | Portraits, hair, clothing, complex borders | Beginner – Intermediate | 1 – 2 minutes |
| Method 2: Select Subject + Mask | Simple photos with obvious contrast | Beginner | 15 seconds |
| Method 3: Vector Pen Tool | E-commerce items, hard edges (bottles, tech) | Advanced | 3 – 5 minutes |
| Method 4: Magic Wand Tool | Solid white/green studio backdrops | Beginner | 30 seconds |
| Instant Alternative: Remove BG | 1-Click zero-effort AI cutout (No brushwork) | Zero Effort | 2 seconds |
Method 1: The “Magic Cut” Tool (Photopea’s Flagship Feature)
Photopea includes a dedicated background removal workspace called Magic Cut (similar to the famous Clipping Magic utility). It uses color-guided algorithms where you tell the tool what to keep and what to delete using simple color brushes.
Step 1: Open Your Image in Photopea
- Go to photopea.com in your web browser.
- Click Open From Computer (or drag and drop your JPG, PNG, or WebP file straight onto the canvas).
Step 2: Launch Magic Cut
- In the top navigation bar, click on Select > Magic Cut…
- Photopea will open a split-screen workspace:
- Left side: Your working image where you apply color brush strokes.
- Right side: A real-time preview of your transparent cutout against a checkerboard grid.
Step 3: Mark Foreground and Background
Magic Cut provides three simple color brushes on the top toolbar:
- 🟢 Green Brush (Foreground): Paint a quick stroke inside the subject you want to keep. You do not need to color the whole person or object—just a general stroke through the core area.
- 🔴 Red Brush (Background): Paint rough strokes across the background areas you want to delete.
- ⚪ Grey Brush (Unknown / Transition): Use this along fuzzy edges, complex flyaway hair, or semi-transparent clothing where the algorithm should automatically calculate blending.
Step 4: Fine-Tune and Apply
- Check the right preview pane. If parts of the background remain, add a dab of red. If parts of your subject disappeared, paint a dab of green.
- In the top options bar, you can tweak Feather (softens edge transitions) or Margin.
- When satisfied, click the green OK button at the top right.
- Photopea drops the isolated subject onto a new layer with clean transparency!
Method 2: AI “Select Subject” (Quickest Native Method)
For photos with strong contrast between the subject and the backdrop, Photopea features an automated neural network selection tool.
Step 1: Trigger Select Subject
- Open your image in Photopea.
- Go to the top menu and click Select > Subject.
- Photopea’s algorithm will analyze the canvas and draw animated marching ants around the detected subject.
Step 2: Apply a Layer Mask
- Rather than pressing Delete (which permanently destroys pixels), look at the bottom of the Layers panel on the right.
- Click the Add Raster Mask icon (a rectangle with a circle in the center).
- The background will instantly vanish, hidden safely behind the non-destructive mask.
[!TIP] Refining the Mask: If the AI missed a small section (like a belt buckle or hand), select the black-and-white mask thumbnail in the Layers panel, grab the normal Brush Tool (B), and paint with white to reveal missing areas or black to erase leftovers.
Method 3: The Vector Pen Tool (Best for Crisp Commercial Products)
When cutting out commercial products for Amazon, eBay, or Shopify—such as perfume bottles, sneakers, wristwatches, or furniture—AI tools can sometimes produce slightly wobbly or blurry edges. The Pen Tool delivers vector-sharp precision.
Step 1: Select the Pen Tool
- Press P on your keyboard or select the Pen Tool from the left toolbar.
- In the top options bar, confirm the mode dropdown is set to Path (not Shape).
Step 2: Draw Your Path
- Zoom in close (Ctrl + Plus or Cmd + Plus) to roughly 300%.
- Click along the product boundary to drop anchor points.
- Click and drag to create smooth Bezier curves around rounded contours.
- Close your path by clicking on your original starting anchor point.
Step 3: Convert Path to Mask
- In the top options bar, click the Selection button (or press Ctrl + Enter / Cmd + Return).
- Set the feather radius to
0.5 pxfor a natural, anti-aliased edge. - In the Layers panel, click the Add Raster Mask button.
Method 4: Magic Wand Tool (For Flat Studio & Solid Color Backgrounds)
If your image was shot in a photo studio against pure white, solid gray, or a green screen:
- Press W and choose the Magic Wand Tool.
- Set the Tolerance in the top bar to around
20 – 35and check Contiguous. - Click once on the solid background.
- Hold Shift and click any unselected gaps (e.g., between the arms or legs).
- Invert the selection by pressing Ctrl + Shift + I (Cmd + Shift + I).
- Click Add Raster Mask in the Layers panel.
How to Export Your Transparent Image in Photopea
To ensure your cut out subject keeps its transparent background when saved to your computer:
- Click File > Export as > PNG.
- In the pop-up dialogue, verify that the preview displays the transparent checkerboard.
- Keep the quality at
100%and click Save.
[!WARNING] Never export as JPG / JPEG! The JPEG format does not support transparency (alpha channels) and will automatically flatten your background into solid white.
Need a Faster 1-Click Solution? Try Remove BG From Image
While Photopea is a fantastic free tool, manual brushing in Magic Cut or plotting vector paths with the Pen Tool still takes time and manual precision. Furthermore, Photopea contains sidebar banner ads and can run sluggishly on low-powered laptops or phones.
If you just need a clean transparent PNG in 2 seconds without drawing red and green brush strokes, use Remove BG From Image:
- ⚡ Zero Manual Effort: Upload your photo, and our on-device neural network instantly extracts the subject.
- 🔒 100% Client-Side Privacy: Your images are processed entirely inside your browser using WebAssembly. Nothing is ever uploaded to a remote server.
- 💎 Full HD Downloads for Free: Get studio-grade, full-resolution transparent PNG cutouts without watermarks or account signups.
- 📱 Mobile & Desktop Friendly: Works seamlessly on smartphones, tablets, and computers.
Frequently Asked Questions (FAQ)
Is Photopea really 100% free?
Yes. Photopea is completely free to use directly in your browser. It is supported by modest sidebar ads, with an optional premium tier that removes ads and gives extra undo history.
Why does Magic Cut leave jagged or rough edges on hair?
If hair edges look jagged, use the Grey brush generously along the boundary of the hair in the Magic Cut editor. The grey color tells Photopea’s matting engine to calculate individual alpha transparency transitions.
Can I save a PSD file with layers in Photopea?
Yes! Simply click File > Save as PSD. This preserves all your layers, masks, and paths so you can reopen and edit them later in either Photopea or Adobe Photoshop.
Topics covered in this guide
Written by Remove BG Team
Web Design & Photo Editing Specialist
The Remove BG engineering and design team is committed to making high-resolution image editing accessible, private, and 100% free for creators worldwide without hidden paywalls.